Sonoff
WiFi Smart Switch 433 Mhz Wireless RF Receiver Smart Home Module 110V 220V Remote Control Light Switches Works With Amazon Alexa
APPLICATION

FEATURES
This Wifi switch is a through wifi connection to the internet, by mobile phones can remote control home appliances.You can also use the RF remote control for control.It is a low-cost, affordable device that help you to step into the amazing smart home!
No matter where you are, you can control your home appliances through the app.
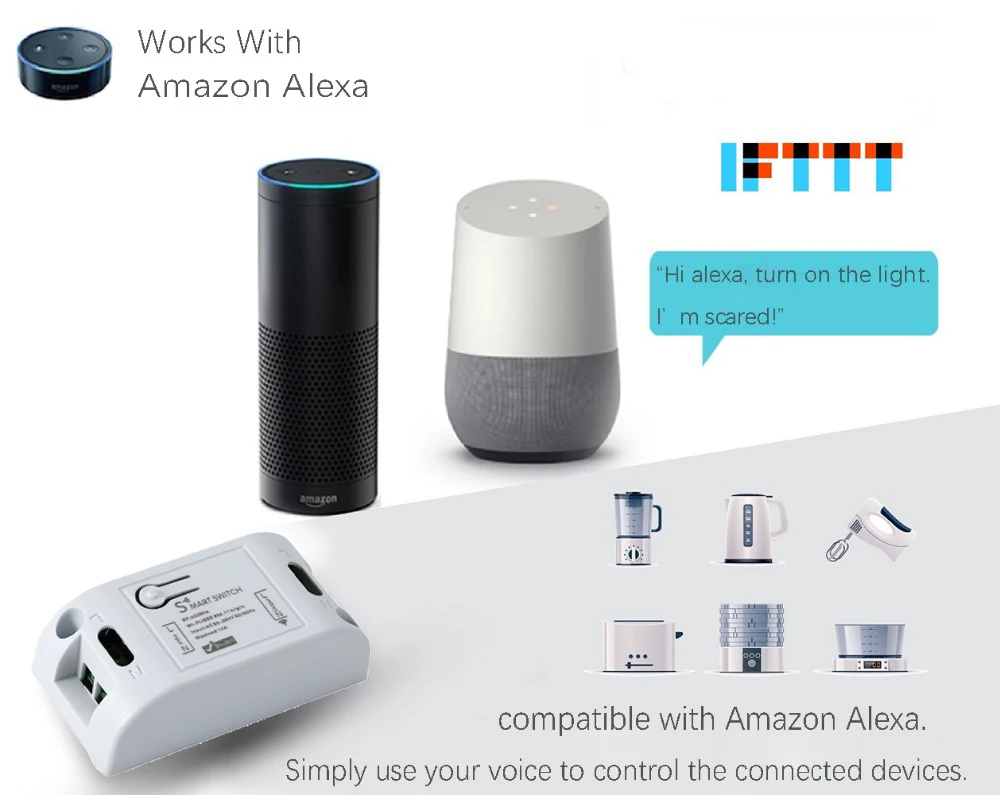
Works perfectly with Amazon Alexa
| Remote ON/OFF | Turn electrical devices on/off from anywhere |
| App Support | Free iOS and Android mobile App 'Smart Life' |
| Sync Status | Real-time device status provided to App |
| Timing | Set scheduled/countdown/loop timers to turn on/off at specified time |
| Share Control | Control your smart home together with your family |
| Scene | Turn on/off a gang of devices with one tap |
| Voice Control | Works perfectly with Amazon Alexa,Google Home,IFTTT |
SPECIFICATIONS
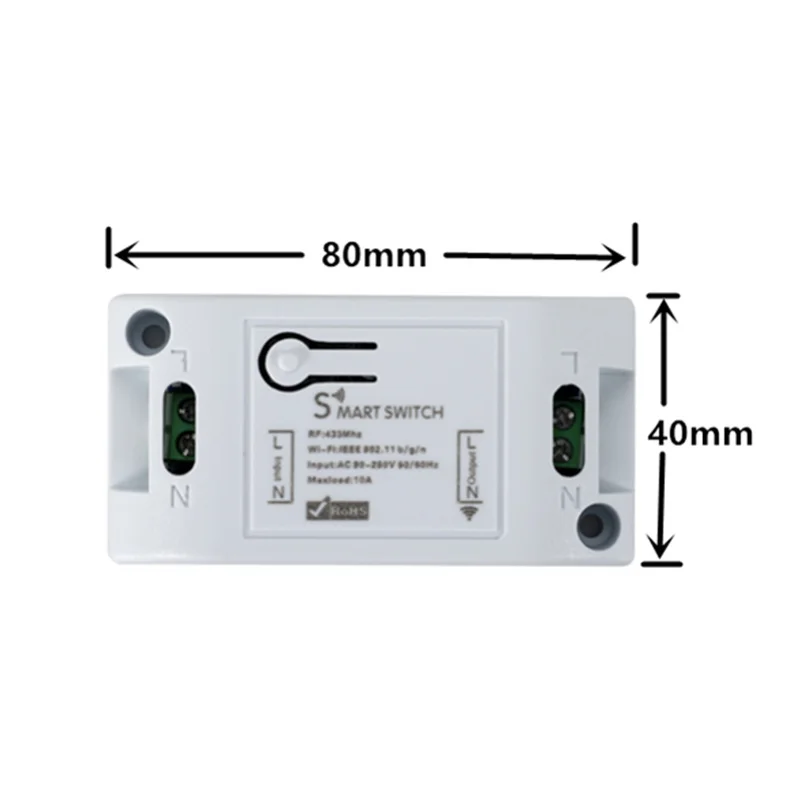
Input voltage : AC 100-240V
Max Current : 10A
Wireless type : wifi 2.4GHz
Wireless standard : IEEE802 .11b/g/n
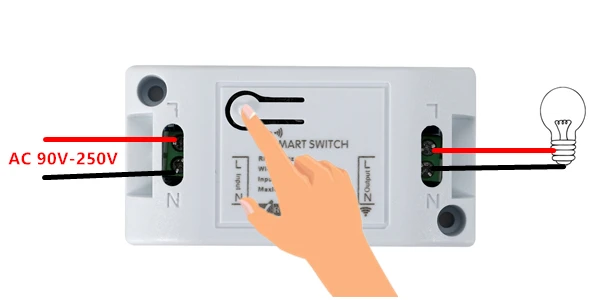
How to install this smart switch
You don't need to open the outer casing of this smart switch
You can wire directly to the terminal block
Please note: Please turn off the power before wiring.
Please connect the wires according to the following diagram
WIRING DIAGRAM
After the wiring is completed, turn on the power and operate according to the status of the smart switch indicator:
1) If the blue light of the smart switch flashes continuously at this time, it indicates that the smart switch has entered the state of waiting for connection to WiFi; then open the APP and follow the instructions to connect to WiFi.
2) If the indicator light of the smart switch is not flashing blue light, please press the button of the smart switch and keep it for more than 5 seconds until the blue light flashes continuously, then open the APP and connect to the WiFi according to the manual.
Scan the QR-code of the manual or Search ‘ Smart Life ’ to download and install the device's APP
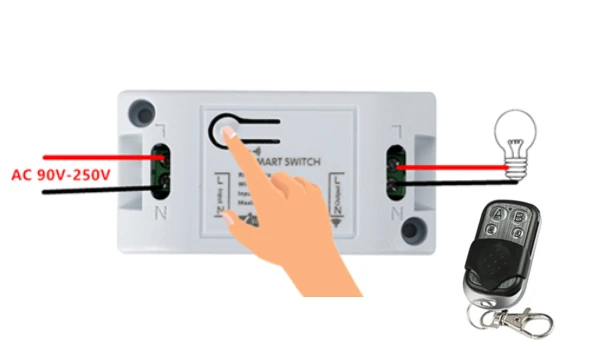
How to match smart switch with 433Mhz RF remote control?
This smart switch has 3 working modes to match the 433Mhz RF remote:
(smart switch, hereinafter referred to as: receiver)
About receiver's Working Mode:
Momentary mode: Press the Remote control button, the receiver's relay is ON; release button, the receiver's relay is OFF.
Toggle mode: Press Remote control button for 1 time, the receiver's relay is ON; press button again, the receiver's relay is OFF.
Latched mode: Press Remote control button A, the receiver's relay is ON, Press the transmitter's button B, the receiver's relay is OFF.
Reset function: After push the receiver's learning button 8 times, the receiver Clear all the remote control data in its memory.
When the red LED flashes for a few times, it indicates that the clear function is completed.
(After cleared the code in the receiver, all the remote control cannot work with the receiver.)
Matching method:
1. Setting momentary Mode:
Press the receiver's Learning button 1 time, the receiver's red LED will be lights up, it comes into Setting state; Press the remote's button, the receiver's red LED will flash then come off, Setting successfully.
2. Setting Toggle Mode (Common working mode):
Press the receiver's Learning button 2 time, the receiver's red LED will be lights up, it comes into Setting state; Press the remote's button, the receiver's red LED will flash then come off, Setting successfully.
3. Setting Latched Mode:
(Note: When you choose "Latched Mode", you need to setting two different buttons on the Remote control, the first time learn is for “ON”, the second time learn for “OFF”.
For example: button A = ON, button B = OFF)
Press the receiver's Learning button 3 time, the receiver's red LED will be lights up, it comes into Setting state; Press the remote's A button, the receiver's red LED will flash and then remains lit; Then press the remote's B button, the receiver's red LED will flash then come off, Setting successfully.
Note: A Smart Switch can only store 12 buttons (on the remote). Saved button number of more than 12, it will cause all of the stored remote control cannot control the Smart Switch. You need reboot the power and reset the RF remote control settings (press the Smart Switch's matching button 8 times)
PACKAGE LIST
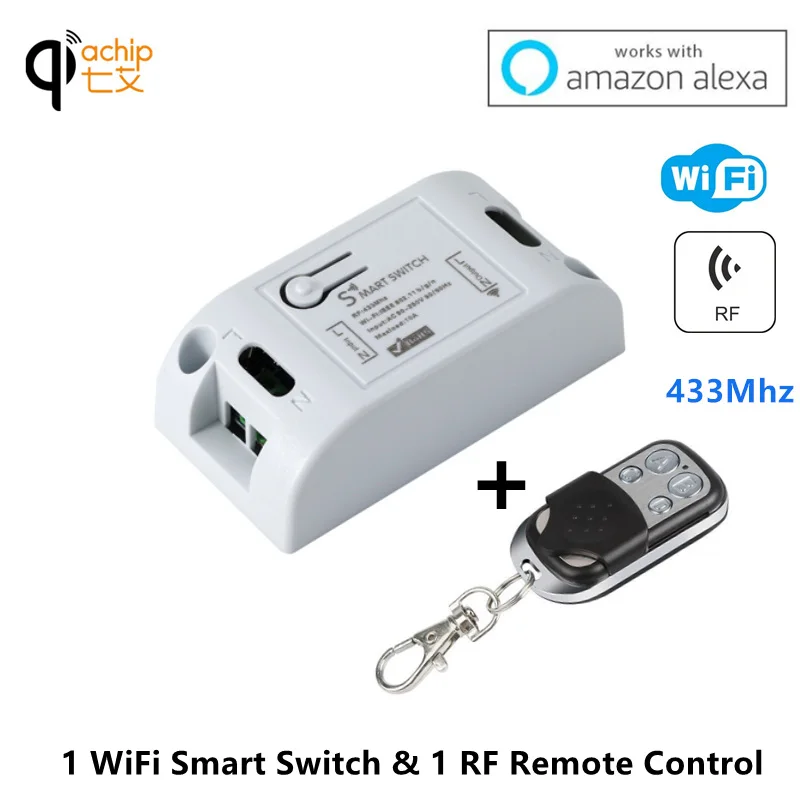
Package A:
1) 1 smart switch (WiFi Switch with 433 Mhz RF Wireless Receiver) * 1pcs
2) 4-button RF remote control * 1pcs
Package B:
1) 1 smart switch (WiFi Switch with 433 Mhz RF Wireless Receiver) * 1pcs

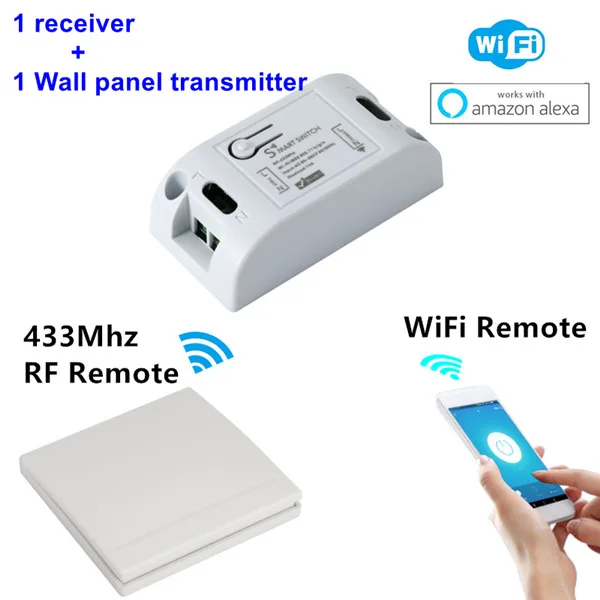
Package C:
1) 1 smart switch (WiFi Switch with 433 Mhz RF Wireless Receiver) * 1pcs
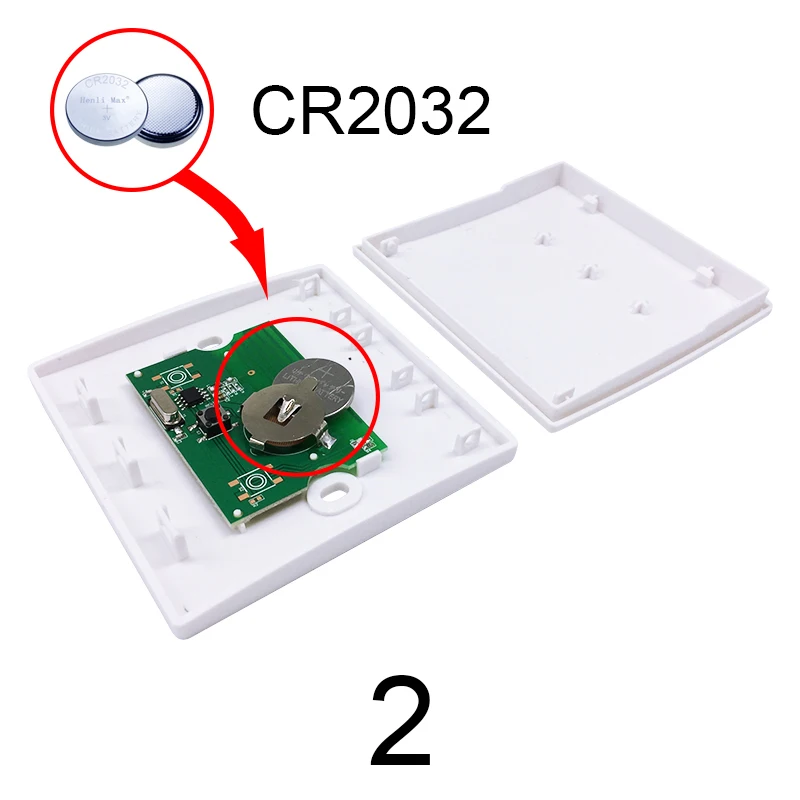
2) 1-button Wall panel RF remote control * 1pcs (Batteries not included)
Note: Battery model: CR2032
Battery installation diagram of this wall panel remote control


Package D:
1) 1 smart switch (WiFi Switch with 433 Mhz RF Wireless Receiver) * 1pcs
2) 4-button RF remote control * 1pcs
3)1-button Wall panel RF remote control * 1pcs (Batteries not included)
Note: Battery model: CR2032

Q&A
1. My device has added successfully but stays “Offline”?
Answers: The newly added device need 1-2 min to connect to your router and the Internet. If it stays offline for a long time, please judge the problem by the led status:
Led quickly blinks one time and repeats, which means device failed to connect to the router. The reason may be you have entered wrong Wi-Fi password or your device is too far away from the router, which causes a weak Wi-Fi signal. The device cannot be added to the 5G-wifi-router, only the 2.4G-wifi is OK. At last, make sure that your router is MAC-open.
2. Why the APP can't find the device in pairing status?
Answers: That's because of your phone's cache. Please close the WLAN of your phone then open it after a minute. At the same time, please power off the device if you can, then power up to try again.
3. The led keeps off, even if the device is powered on. Press the button but the device does not work.
Answers: The circuit may be broken, please send it back for testing. Return shipping postage and packaging will be at buyer's expense, if the device is damaged by the buyer, and the buyer should bear extra repair cost.


Komentar
Posting Komentar